Ingredients
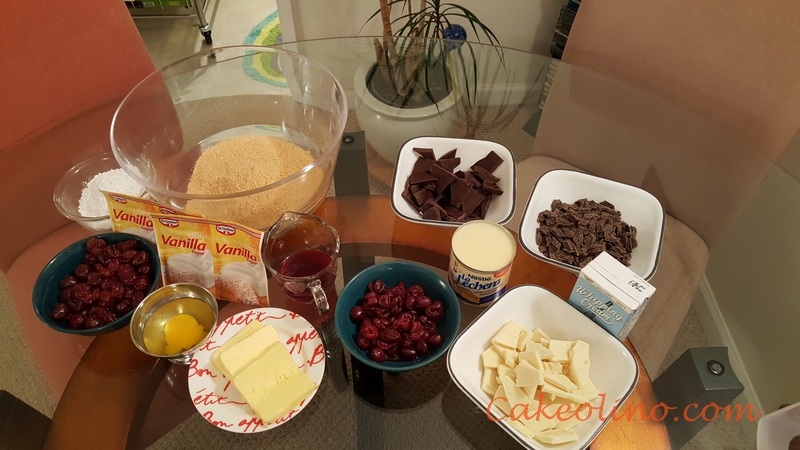
- 500 g Pitted Sour Cherries
- 600 g Cracker Crumbs
- 400 g Sweetened Condensed Milk
- 30 g Whipping Cream
- 200 g White Chocolate
- 200 g Semi-Sweet Chocolate
- 200 g Dark Chocolate
- 200 g Cocoa
- 200 g Salted Butter
- 100 g Powdered Sugar
- 2 oz Imitation Rum Extract
- 40 g Vanilla Sugar
- 70 g Sour Cherry Juice
- 1 Egg
- Cherries – for all steps in recipe
- 500 g Pitted Tart Cherries
- Cracker Crumb Crust
- 600 g Cracker Crumbs
- 100 g Salted Butter
- 100 g Powdered Sugar
- 1 Egg
- 300 g Pitted Tart Cherries from Step 1
- 70 g Tart Cherry Juice
- 4 bags Vanilla Sugar
- 2 Imitation Rum Extract
- Dark Chocolate Layer
- 200 g Dark Chocolate broken into small pieces
- 200 g Sweetened Condensed Milk
- Semi-sweet Chocolate Layer
- 200 g Semi-sweet Chocolate broken into small pieces
- 200 g Sweetened Condensed Milk
- White Chocolate Layer
- 200 g White Chocolate broken into small pieces
- 30 g Whipping Cream
- Cherries for cake layers
- 200 g Pitted Tart Cherries from step 1
- Cake Top Sprinkle
- 100 g Cocoa
- Glaze for Side of the Cake
- 100 g Cocoa
- 100 g Salted Butter
- Prepare Cherries
- Wash and drain pitted cherries (will be used in Steps 2 and 6).
- Put cherries into strainer over a small bowl and squeeze juice into the bowl by pressing cherries over the strainer.
- Set aside 70 g of juice for use in step 2 for deep dish crust.
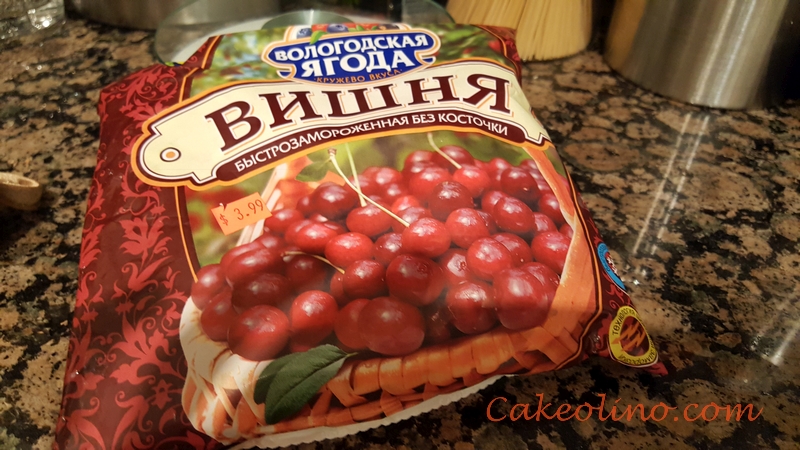
In this recipe I used frozen pitted sour cherries I found in San Francisco's neighborhood Europian store on La Playa St. I have also made this cake with canned pitted tart cherries in water and pitted cherries in light syrup. I recommend unsweetened ones but you can also use lightly sweetened cherries
- Cracker Crumb Deep Dish Crust
- In larger plastic mixing bowl combine all Cracker Crumb Crust ingredients and mix it with mixer with dough attachment.
If dough becomes too stiff for the mixer finish kneading by hand. - Place dough on round plastic 11" plate and model it into deep dish with approximately 1.5" inner side depth
- In larger plastic mixing bowl combine all Cracker Crumb Crust ingredients and mix it with mixer with dough attachment.
- Make Dark Chocolate Fudge
- In microwavable bowl, mix dark chocolate pieces with condensed milk and microwave for 1 minute
- Take mixture out and stir until smooth adding 15 seconds at a time back in the microwave if not smooth.
- Keep steering until fudge thickens to custard like consistency
Consistency of filling should be soft to spread. If it is runny keep mixing until it gets spread like consistency. If mixture is too runny, place it in fridge until thick, but still soft and then beat with mixer until fluffy (1-2 minutes).
- Make Semi-Sweet Chocolate Fudge
- In microwavable bowl, mix semi-sweet chocolate pieces with condensed milk and microwave for 1 minute
- Take mixture out and stir until smooth adding 15 seconds at a time back in the microwave if not smooth.
- Keep steering until fudge thickens to custard like consistency
Consistency of filling should be soft to spread. If it is runny keep mixing until it gets spread like consistency. If mixture is too runny, place it in fridge until thick, but still soft and then beat with mixer until fluffy (1-2 minutes).
- Make White Chocolate Ganache
- In small milk pot heat whipping cream in microwave for 30 seconds just to simmer.
- Remove cream from microwave and pour about 1/3 of hot whipping cream over white chocolate pieces to melt.
- Gently stir until chocolate is melted, then beat mixture with stick mixer until smooth.
- Keep mixing continuously and gradually add remaining hot cream as needed.
Do not add all cream to chocolate at once. Amount of whipped cream needed depends on a type of white chocolate you use in recipe.
Ganache should be soft to spread but not runny. If ganache becomes runny you can warm for 15 sec in microwave or until it starts melting, add more white chocolate and beat it with mixer. If mixture turns out to soft to spread but not runny you can put in refrigerator until set.
- Make the cake
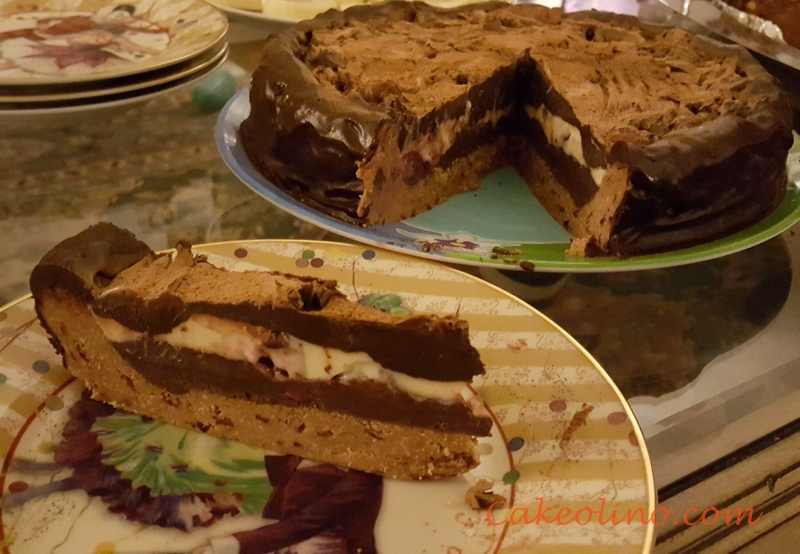
- Pour dark chocolate fudge into the deep dish crust and even surface with icing spatula
- Sprinkle 200 g tart cherries over the dark chocolate fudge.
- Pour white chocolate ganache over the cherries and spread it evenly with spatula
- Pour semi-sweet chocolate fudge on the top of the white chocolate ganache and even the top.
- Put the cake to the freezer or fridge for 30 minutes to set.
- Decorate cake top
- Glaze cake sides
- Combine 100 g cocoa and 100 g butter into microwavable bowl and microwave on high for 1 minute.
- Take mixture out and mix it until glaze is smooth. Glaze should be runny.
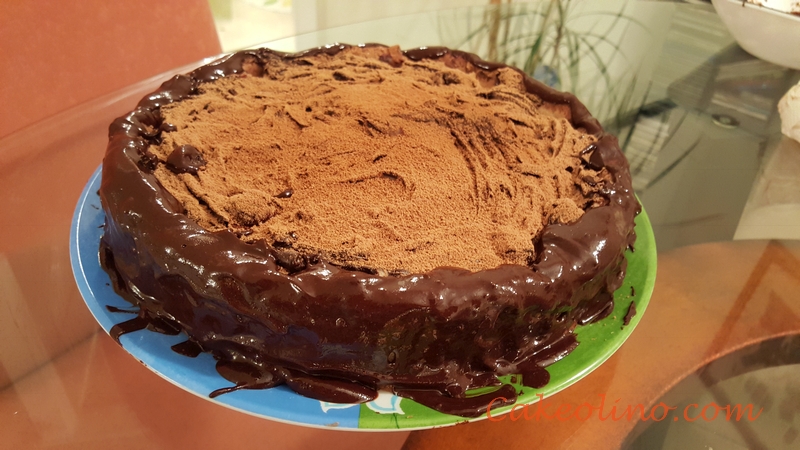
- Using batter spoon pour the cocoa glaze over the cake edge allowing it to run down the sides of cake. The glaze sets quickly so if you need to spread glaze over sides use spatula while pouring the glaze.
- Store the cake
-
If you are not going to enjoy the cake same day store it in fridge or freezer properly to protect freshness and prevent it from absorbing flavors and smells from other food in fridge or freezer.
- Let cake set in fridge for 15 - 30 minutes.
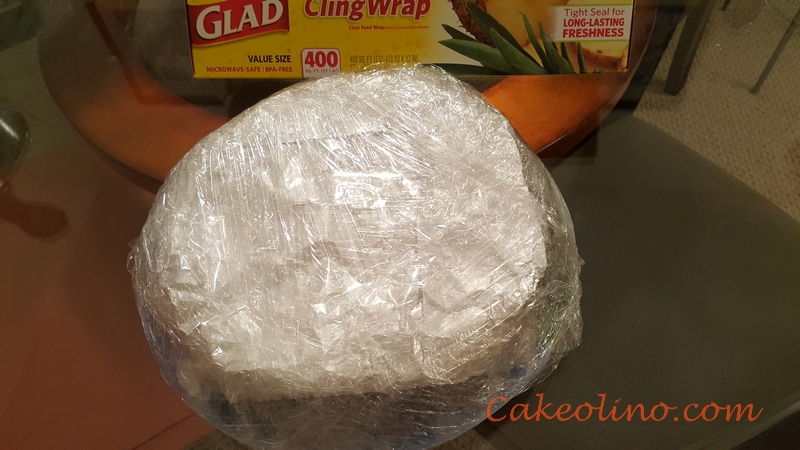
- Wrap the cake in cling wrap.
- Store wrapped cake in fridge or freezer until used.
- Serve
- Move chilled cake from plastic plate to the serving plate and keep it at room temperature for 1 hour before served.
- If cake was frozen move it, unwrapped, to fridge overnight before serving. Allow to sit 1 hour at room temperature before serving.
- Cut the cake in 1 inch thick slices.
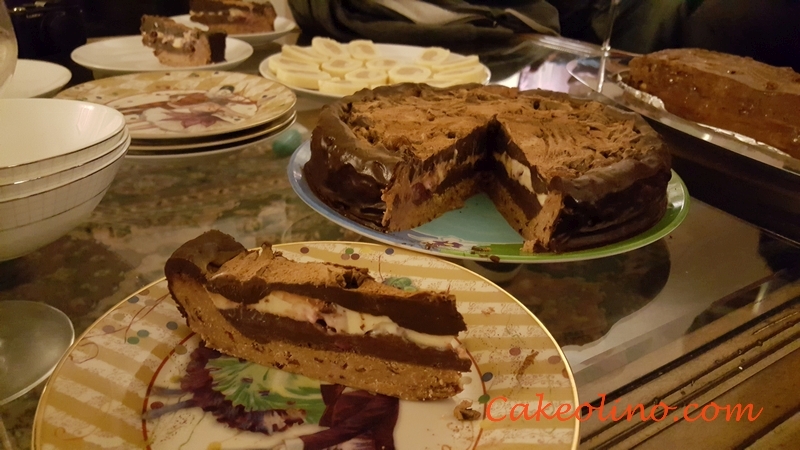
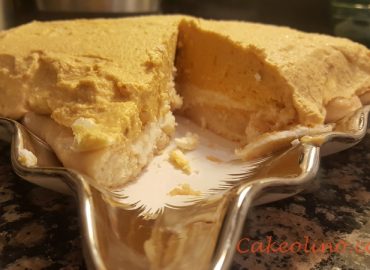
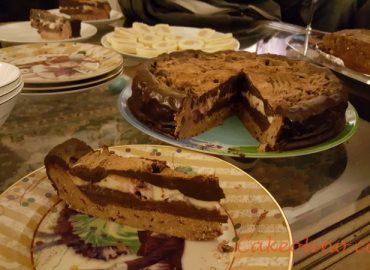
Cake is semi-hard when cutting, however it is deliciously creamy and it melts in mouth.
While cherries are draining prepare deep dish crust and chocolate fillings
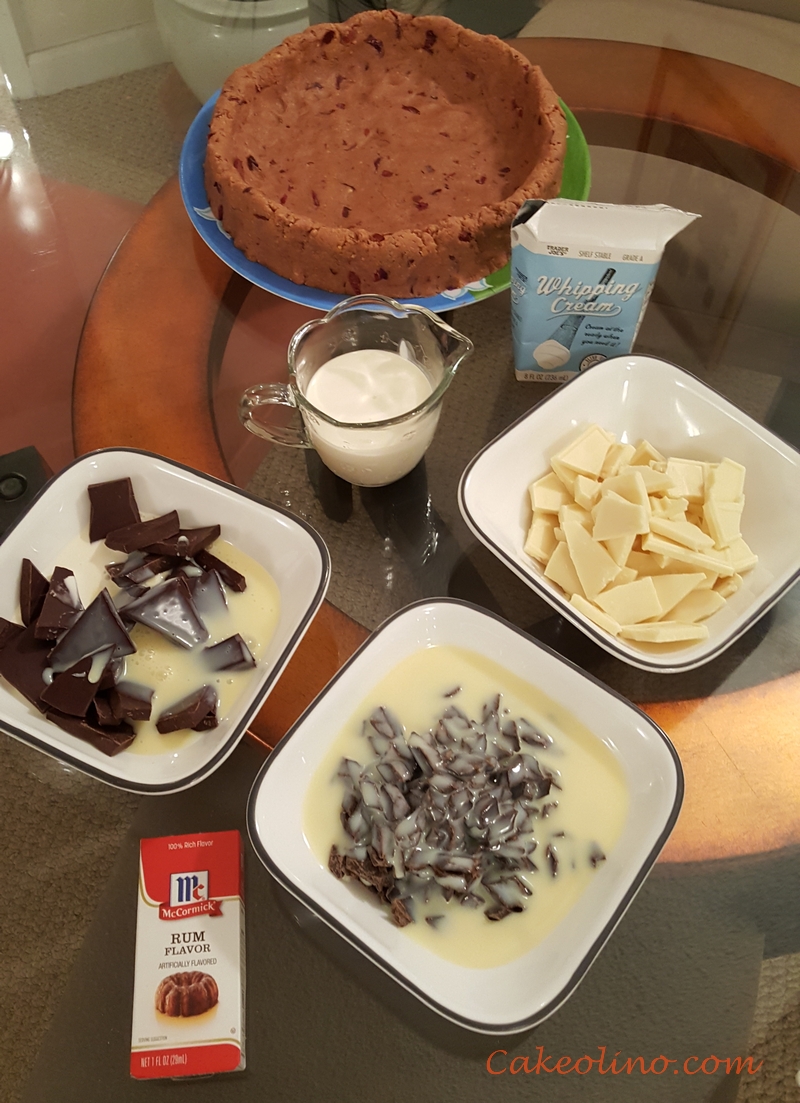
Set the cake crust aside until you prepare chocolate fillings.
Set the fudge aside to thicken.
While fudges are cooling prepare white chocolate layer.
By this time all three chocolate layers should be cool enough to finish the cake.
It is time to decorate the cake. I have decided to keep it simple and sprinkle it with unsweetened cocoa.
DONE!
Let cake set in fridge for at least 4 hours before serving.
Remaining cake can be stored in the plastic container and frozen. To keep cake fresh and from absorbing flavors and aroma from other food from freezer or fridge, wrap the container with cling wrap.

